“Ideas are like rabbits. You get a couple and learn how to handle them, and pretty soon you have a dozen.” — John Steinbeck
Create Card Using Mixed-media
I became interested in making my own greeting cards when my daughter gave me a card making how to book. It has patterns, sayings, and short descriptions along with lists of project supplies. Sometimes I use the book for inspiration to create my own designs. Other times, I try to create something similar to the sample. I almost never have all the supplies listed so I substitute supplies I have on hand. Here is a greeting card I made. I will go through the details. It is quite easy.
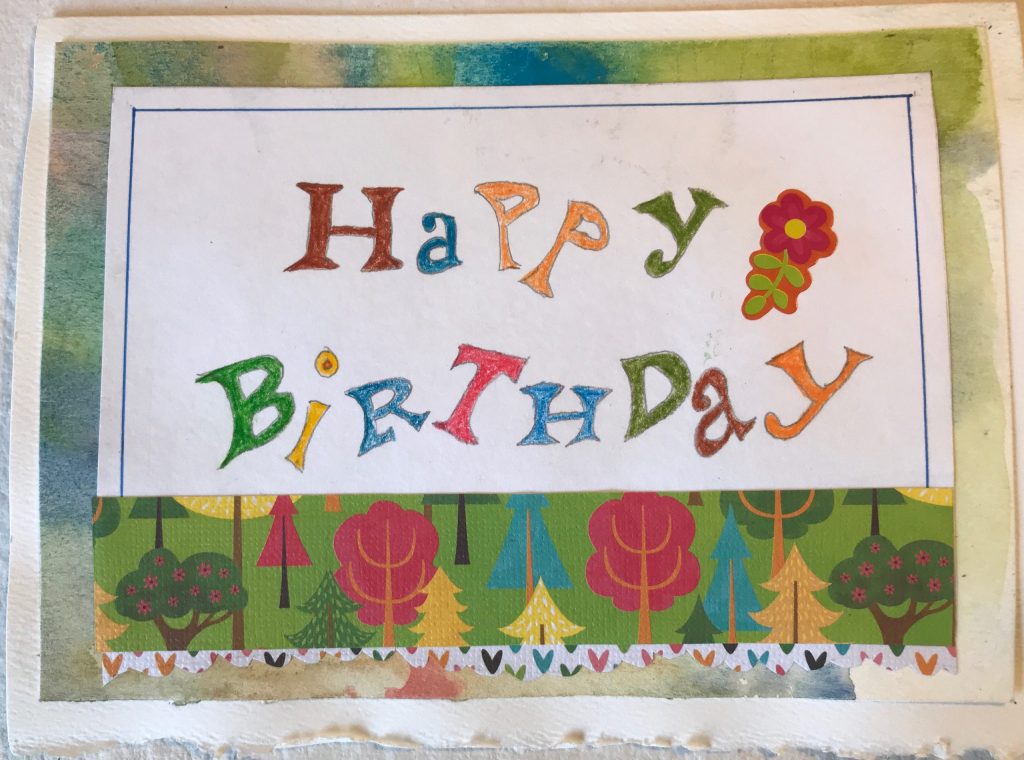
This is the front page of the card. I used a Strathmore acid free, white with deckle “Creative Card” 5″ x 6 7/8″ stock card. You can find these at art stores like Dick Blick or Jerry’s Artarama.
Watercolor
The background is a piece of watercolor scrap I found in my saved paper stash. I use this stash to decorate journal pages, collage projects, or in this case a greeting card. Measure your card stock and cut the watercolor page just a bit smaller like 1/4″ all around. If you want to paint on the card, I recommend using acrylic paint or other paints or dyes that dry water proof or resistant. Another alternative is to seal the watercolor with lacquer.
Decorative Paper
Next, I added the wide rectangular at the bottom using a decorative paper. First, I mapped out the size of the card stock used for the top area that has the wording on it, and the widths of the bottom two borders. I sized everything to fit on the page. For the two bottom borders I used cardstock from – The Paper Studio “Pink Lemonade” collection. I chose the forest theme and animal track papers. I chose the theme because the card was for my husband who likes nature and camping. Michael’s Crafts and Hobby Lobby have oodles of these little paper packs in different themes. My only complaint is they are smaller than the card stock I’m using. I cut out all the pieces and glued them in place. First I glued the watercolor page, then the bottom wide forest border, next the tracks narrow border.
Lettering Text
Lastly, I transferred lettering onto some white card stock. You can use templates, stickers, or hand print your own. I wrote my own using a free font alphabet I copied from the internet. I wrote it in pencil then colored in the letters with crayon. One thing I have learned, is to use a permanent ink for your lettering. When you glue the paper, it becomes damp and could make the ink run if it isn’t permanent. I drew a border around the edge of the card stock with colored pencil. I glued that little card onto the card front slightly overlapping the forest border piece. The deckled edge was already on the card stock. But one way to do that is cut the edge in little half circles then sand with a fine sandpaper or tear if you can do it evenly.
Next I’ll show the interior. This one is easy.
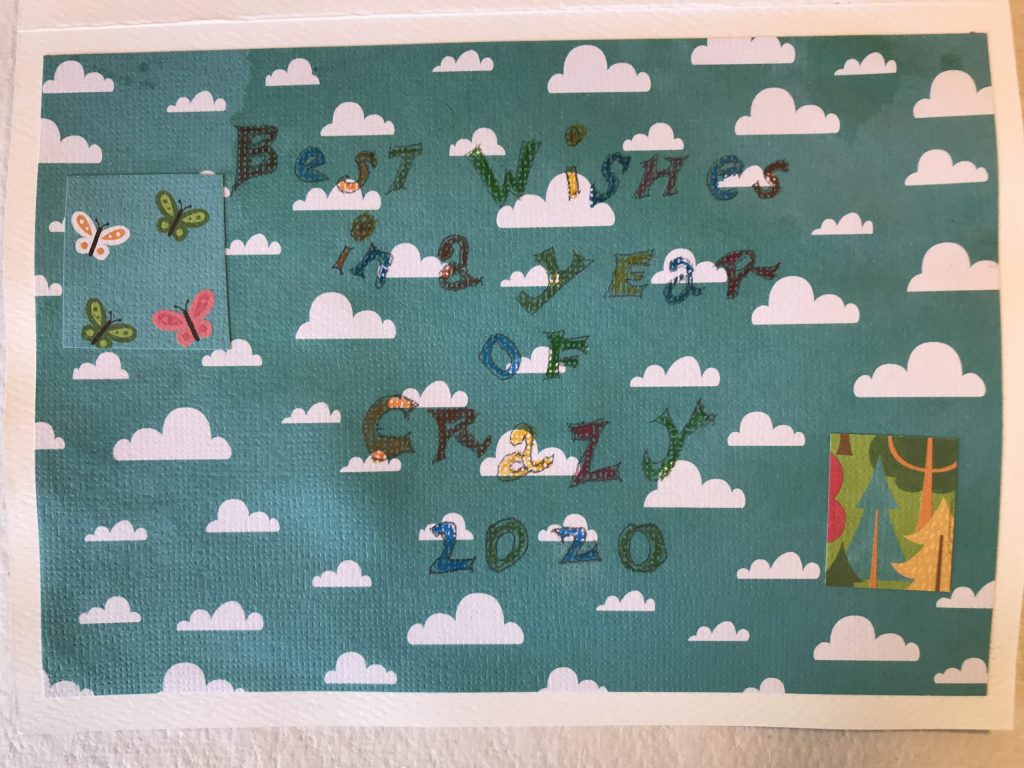
Cut a decorative paper to fit. I made it about 1/4″ all around smaller than the card. I used the “Cloud” design in the “Pink Lemonade” collection by The Paper Studio. This time I wrote my text directly on the decorative paper and again used the crayon to fill in the letters. Next I glued the paper to the card. The design seemed a little sparse, so I cut out a few portions of some of the decorative paper design to add some color. I also added a little flower sticker to the front page. You can also decorate the other interior page or write a sentiment. I didn’t include a photo of it because what I wrote is personal.
Have fun with this. Use your imagination. You can add lace, paper flowers, embossed paper, buttons, felt designs, oodles of stickers, etc. Also, there are some cute rubber stamps and templates that can add elements to your design. Kids like glitter and pop-up animals or characters.
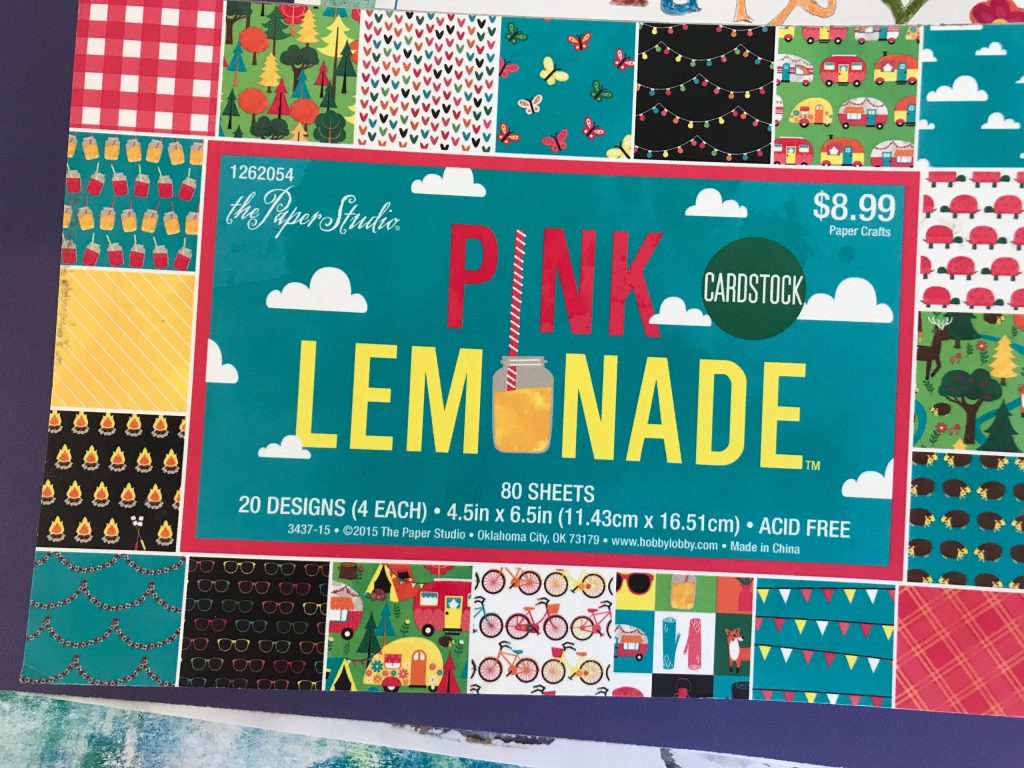
This is a photo of the front page of the “Pink Lemonade” card stock set by The Paper Studio. I also used a flower sticker from “Days of Summer” StickerBook by Creatology.
If you like these ideas, or want to add some information please leave a comment. If you want a response to a comment or would like to be added to my contact list for events, please complete your name and email address on the contact sheet under the contact tab of my site. Hope to hear from you soon.
If you like the site, please share with your friends.