“Art is the imposing of a pattern on experience, and our aesthetic enjoyment in recognition of the pattern.” – Alfred North Whitehead (1861-1947) British sculptor
This week, I wanted to share some of the gelli plate prints I recently made. I wanted to illustrate something that told about my father’s drafting and engineering career. So, I printed a photograph from the web of some building plans. To decorate around the photo, I decided to do a gel plate print.
Using Photos with Gel Printing Technique
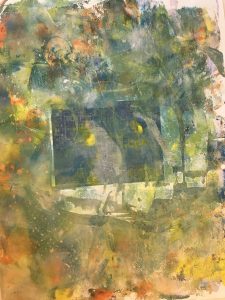
I liked the color pallet as a page background, but as you can see the colors and patterns overpower the plan illustration in the center. The second one I printed (not shown) I used purple, yellow, and orange for the print, but I used too much paint. When I spread the paint with a brayer to move the colors around, the colors turned a bit muddy. I lifted the print onto paper and cleaned the plate so I could start over. I didn’t care for the plan illustration I’d printed off the internet. The design was too flat and the detail didn’t come through on the photo. After more searching, I found a more interesting illustration.
This time I limited my pallet to lighter colors, powder blue, lilac, purple, grey and white gesso. Then, instead of using the brayer to spread the paint, I used a pallet knife and paint brush to spread the paints. This made the paints a little transparent. To add interest, I embellished the page with marks made by dragging fork tines through the paint. A vinyl net was spread over some painted areas and rolled with a brayer to make a grid pattern. I had a pottery tool with a serrated edge which I used to make marks. Here is the result.
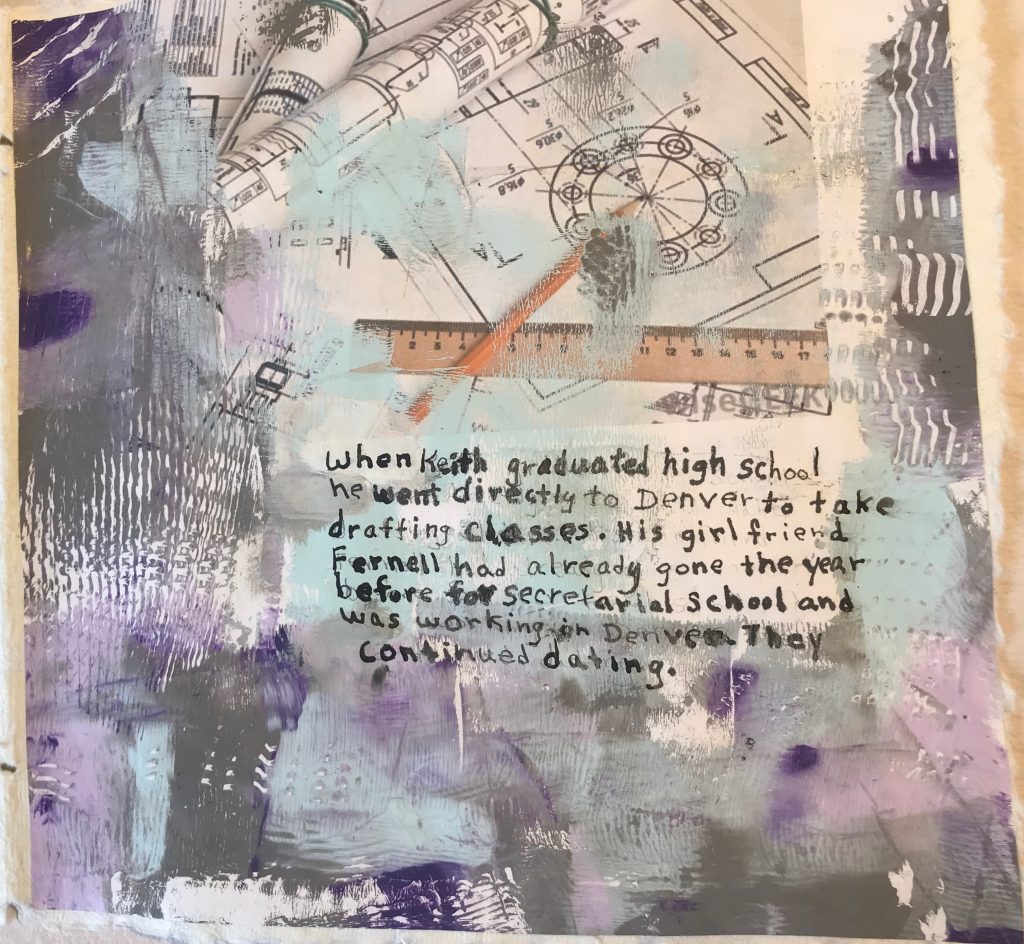
As you can see this time the colors don’t overpower the plan illustration, but add interest. Some patterns and marks direct the eye toward the plan. I’m not too happy with the uneven writing and will probably paint over it and re-write.
I liked the result so I added more paint to the plate adding some cadmium yellow, dark blue, a little more purple. This time I used some sea shells to make some patterns. When the print was pulled it revealed a page with interesting patterns and colors. Here is a photo of the page.
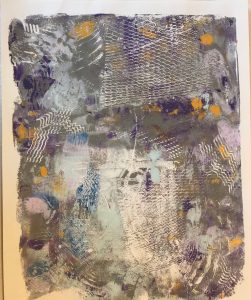
I love experimenting with colors and textures. Even when you clean the brayer on a piece of paper some of the design transfers. So, if you try this technique, don’t throw out those sheets. You can use as they are or tear them into pieces for collage elements or backgrounds. Here are two more sheets I made.
Templates and Marks for Dimension
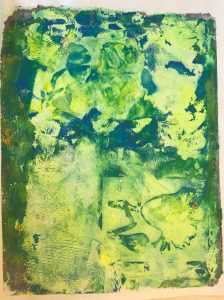
I used flower stencils on the green, yellow, blue print. I used a paint brush to outline the edge of the stencil in blue. If you look at the upper left section you can make out another flower shape but when I pressed the paper onto the painted page it smeared and blended into the other colors. If you want precise rendering of the stencil shape you can use only two colors or you can always add a stenciled image on the page after it dries. If you notice one edge, you can see all the underneath colors that were on the plate lifted onto the paper which adds to the design.
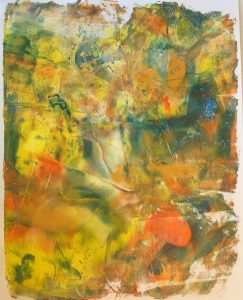
The multi-colored dynamic print has a 3-dimensional quality. If you look at it from different angles you can see faces, lions, and fish. I love the color combination. Again different colored paint and patterns from previous layers pulled off onto the paper adding to the textures. A page like this could be used on a greeting card, a background paper for text, used to decorate a small box, or elements from it could be used to illustrate a collage or journal page. You could also glue the paper onto cardboard and make tags or bookmarks. Use your imagination and have fun.
Materials
- Acrylic Paints
- Gelli Arts Print Plate
- Flower Templates from Stencil Girl Products
- Sea Shells
- Plastic Fork
- Wooden decorating tool for ceramics
- found objects