“No one ever excused his way to success.” –Dave Del Dotto, How to Make Nothing But Money
I heard a news story the other day about a young man, an architect who was diagnosed with a brain tumor. The surgery to remove the tumor affected his eye sight and within a few days he became permanently blind. Within a month of his surgery, the man returned to work. He didn’t know how it would work but he persisted. He noticed when he became blind his sense of hearing and touch became more sensitive. This man never gave up. He learned braille and devised a system to use dimension on reading architectural building plans. Then he designed a building for a blind institute where textures and design functioned to guide the blind throughout the building corridors, hallways, open spaces, stairs, and rooms. I am thankful I have great health, all my body parts and senses. I am always amazed how people devise ways to work around disabilities living full successful lives while others, me included, make excuses for not accomplishing our dreams.
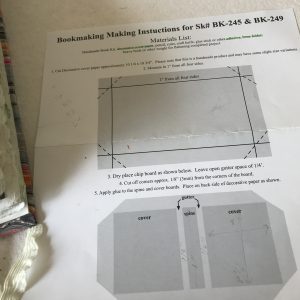
I just had to make that observation because it made an impression on me, though it has not much to do with my projects. I celebrated the finishing of my first artistic memory book that I began in June and wanted to share the results. Here are some photos of the covers I made. Though I bought a book kit from Dick Blick, in the beginning I took off the binding so I could work on each individual page by itself. The book ended up being much thicker than the kit. I used the instructions for laying out the decorative paper cover adjusting for the increased width of the spine.
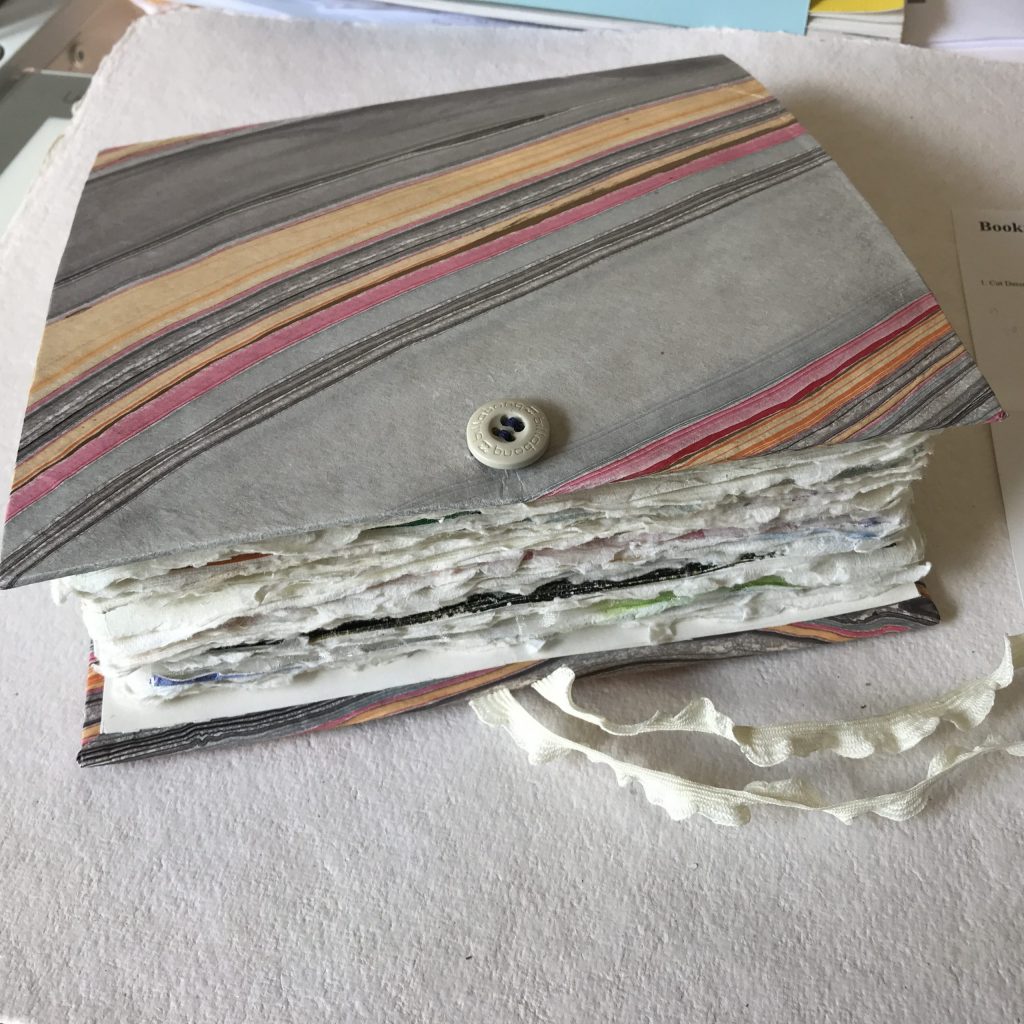
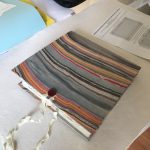
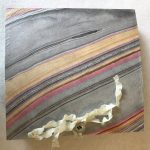
Deckled paper, handmade paper in an asymmetrical design with bold colors, button closure, and puckered cotton tie create a casual style for the book. I thought the gray color of the cover conveyed a more masculine look. Here are a few more snapshots.
With the holidays approaching, I wanted to switch gears and start making some arty gift tags. I’ve seen some pretty samples on pinterest and would like to try my hand at this. I will share my procedures with comments and some photos.
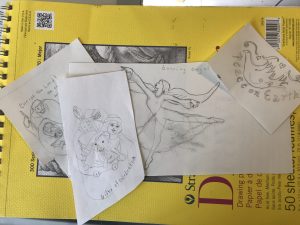
- Make sketches — I used old Christmas cards, wrapping paper, and internet images for reference materials. I made small sketches to work out the composition.
- Tag stock — The tag design punch I bought was too small so I used it as a template and made a tag 2″ x 3″. This still requires tiny artwork, but the size is good to fit on wrapped gifts. Of course, any shape can be used for the tags.
- Scan sketch and resize — My sketches were small about 3″ x 5″ or a couple were larger 6″ x 5″. My scanner has the capacity to re-size the document. My intention was to reduce the image to the final size so I could trace it onto the tag. So I reduced to 2″x 2.5″ leaving room for the hole punch and narrowing design of the tag. See photo below. Then I printed.
- Trace design to tag — Using my light table (or you could do it by holding up to a window) I traced the design onto the card stock tag.
Urch – hold it, Stop! I had a spark of an idea. Why don’t I print more than one image of my design so I don’t have to make a dozen originals.
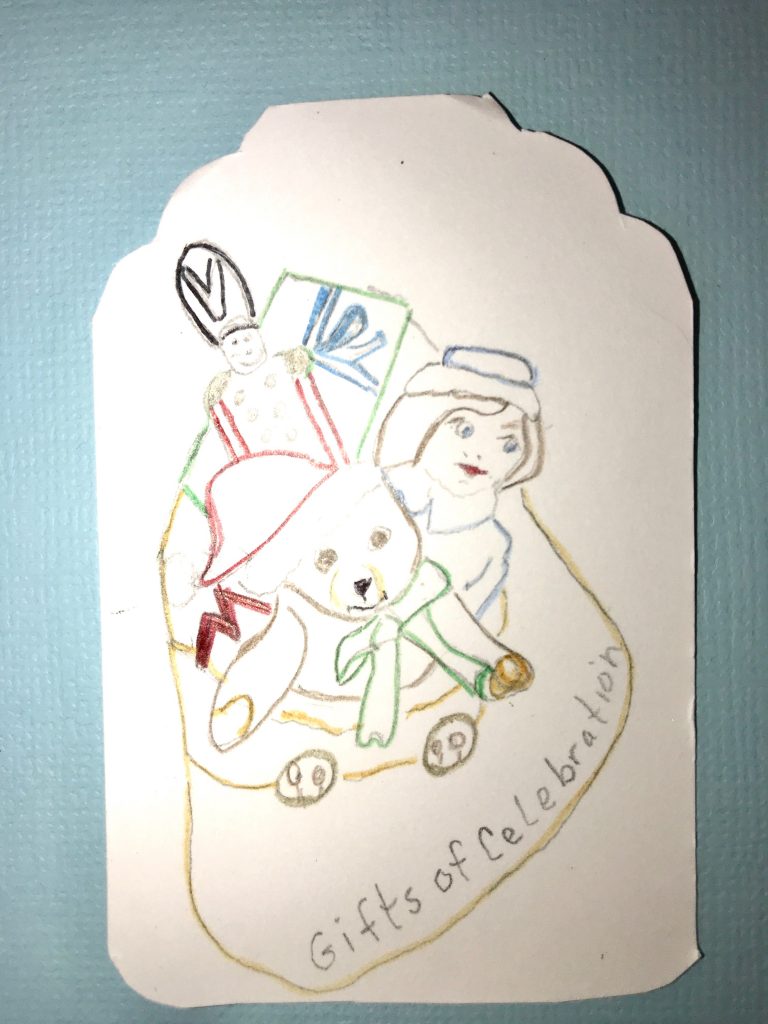
This shows the tag shape and traced image.
5. Adjust sketches — I had two issues. The printed sketches were rough and not dark enough to trace. I couldn’t use them as final image. I used dark pencil to darken and cleaned up smudges made by erasures. Then I printed a page of about 10 of one design. It looked good but it was rectangular, not the shape of the tag. (duh)
6. Epiphany- trace the design on the tag and print several on a page. I did that but didn’t like the gray/black lines because I intended to paint or use embossing techniques in the designs.
7. Draw over pencil lines with colored pencil to correspond to color used in final copy. You can see that effect above. I scanned the new colored drawing that was on a tag. Then, in Adobe Lightroom I printed several on card stock. See photo below.
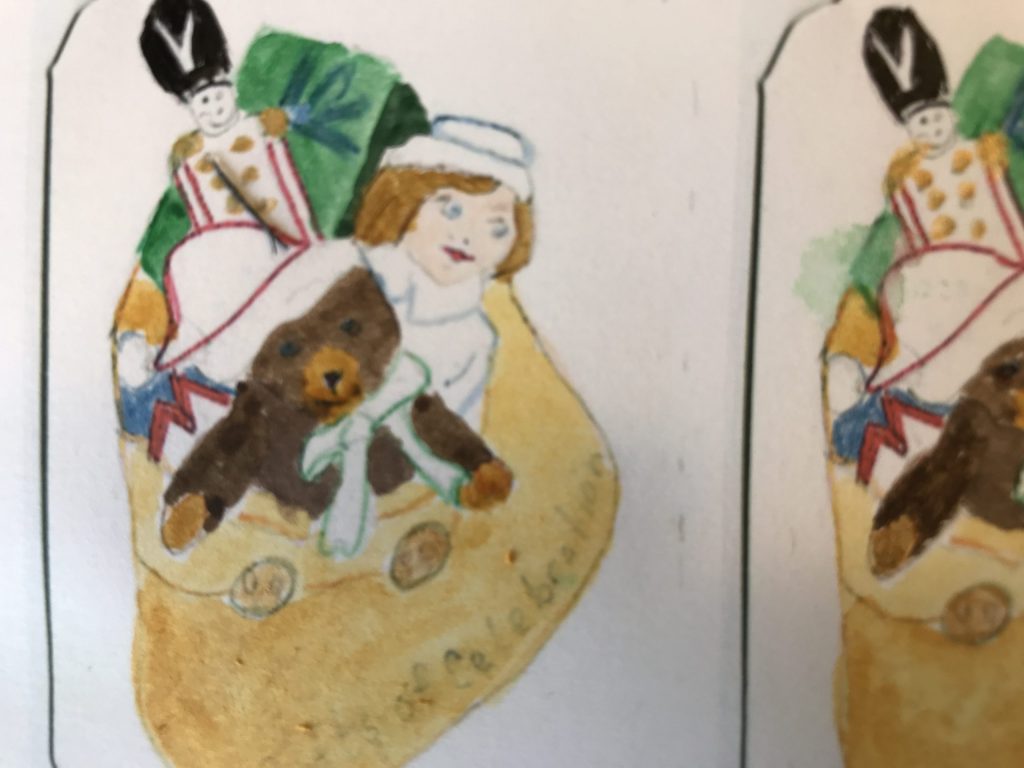
8. Add paint or color to card stock images. This will be the final art work. I used acrylic paint, Prismacolor brand colored pencils.
Here is the card up to this point. I want to add some embossing techniques, but since I’ve never done this, I will practice and share that with you next time. The photo is a bit blurry but you can get the idea. There are 10 cards per page. I spread them a little so I could cut them out.
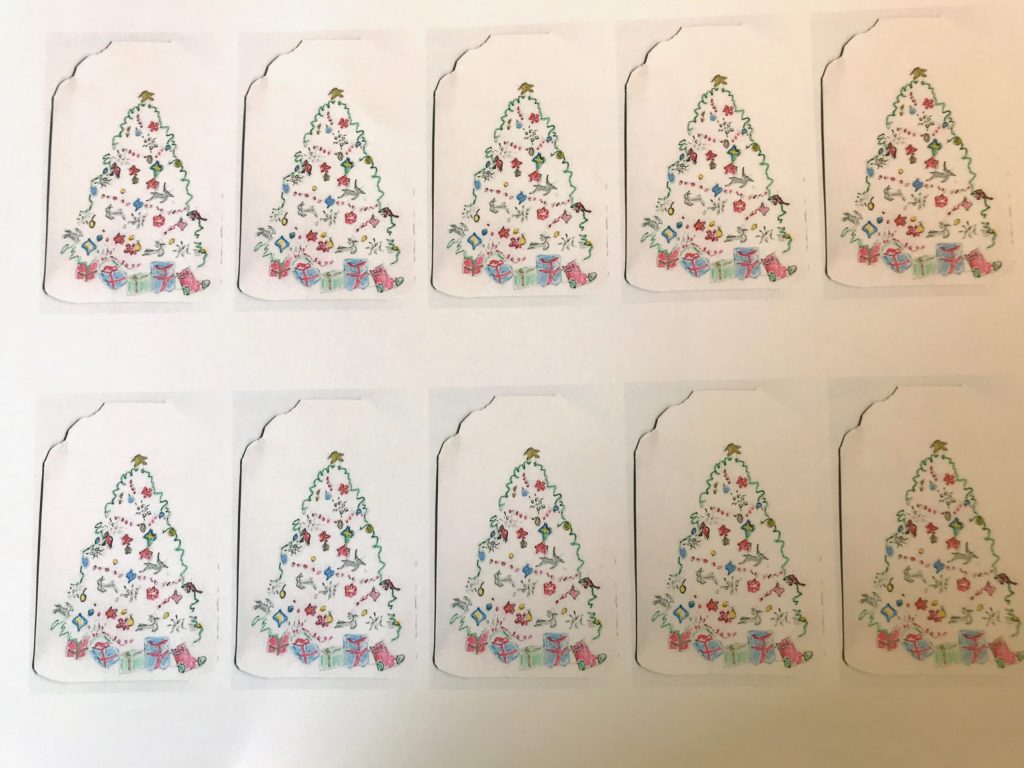
Note- I was surprised at the wonderful detail and color match of my Canon pro-100 inkjet printer. I could actually see the little red birds and the reindeer and tiny red flowers and red garland. I plan to emboss the tree with a glittery pistachio green embossing powder.
Join me next time to see the results. I’m always happy to hear your comments and let me know how I am doing or give me some advise or creative critique. Add your email address in the contact tab and enter your comment. I don’t share your contact information.
I kindly appreciate any shares of this site on your facebook, pinterest, or twitter.